Table of Contents
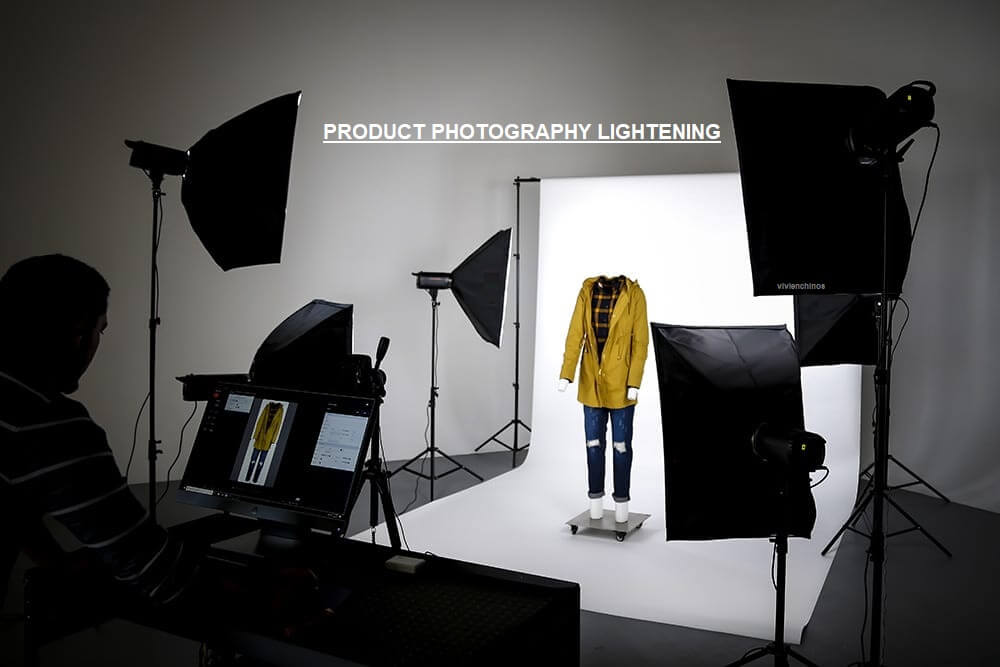
Understand the basics of product photography lighting, plus best practices that will hone your craft for photos of products that your customers will find irresistible.
Many people are returning to Nigeria’s economic roots in innovation and manufacturing by making and creating art or items purchasable. Either in small businesses or in garages, workshops, or local marketspaces.
The fashionable “Maker” movement is sweeping the state and home-grown manufacturers are listing their wares purchasable on personal websites, or on sites like Etsy and eBay.
Each of those products listed on these websites requires wowing product photography to grab the eye of potential customers. While anyone with a smartphone can take a snapshot of their latest product. Such photos begin with a limited camera platform and are just that limited. They’re going to never have an equivalent “punch”, that is, a correct product photo, created with an SLR camera in a studio with off-camera lighting will have.
So, how does one create a product photo which will encourage customers to shop for your newest, latest, greatest innovations and inventions? which appreciates your customer’s sense of judgment. The short answer is that most of the work is in the lighting, as it’s almost all about the lighting. This post introduces the essential concepts behind product photography lighting and discusses best practices. Which will hone your craft and make punchy, well-lit, photos of your products, and customers will find it irresistible.
What is Product Photography? Understanding Product Lighting and a Review of Lighting Basics
Product photography as a subsect and branch of studio photography which creatively thought out. And displayed techniques are carefully developed with one goal. To make photos that provide your product in literally the simplest light possible. So you’ll convert window shoppers into Mastercard delighted users.
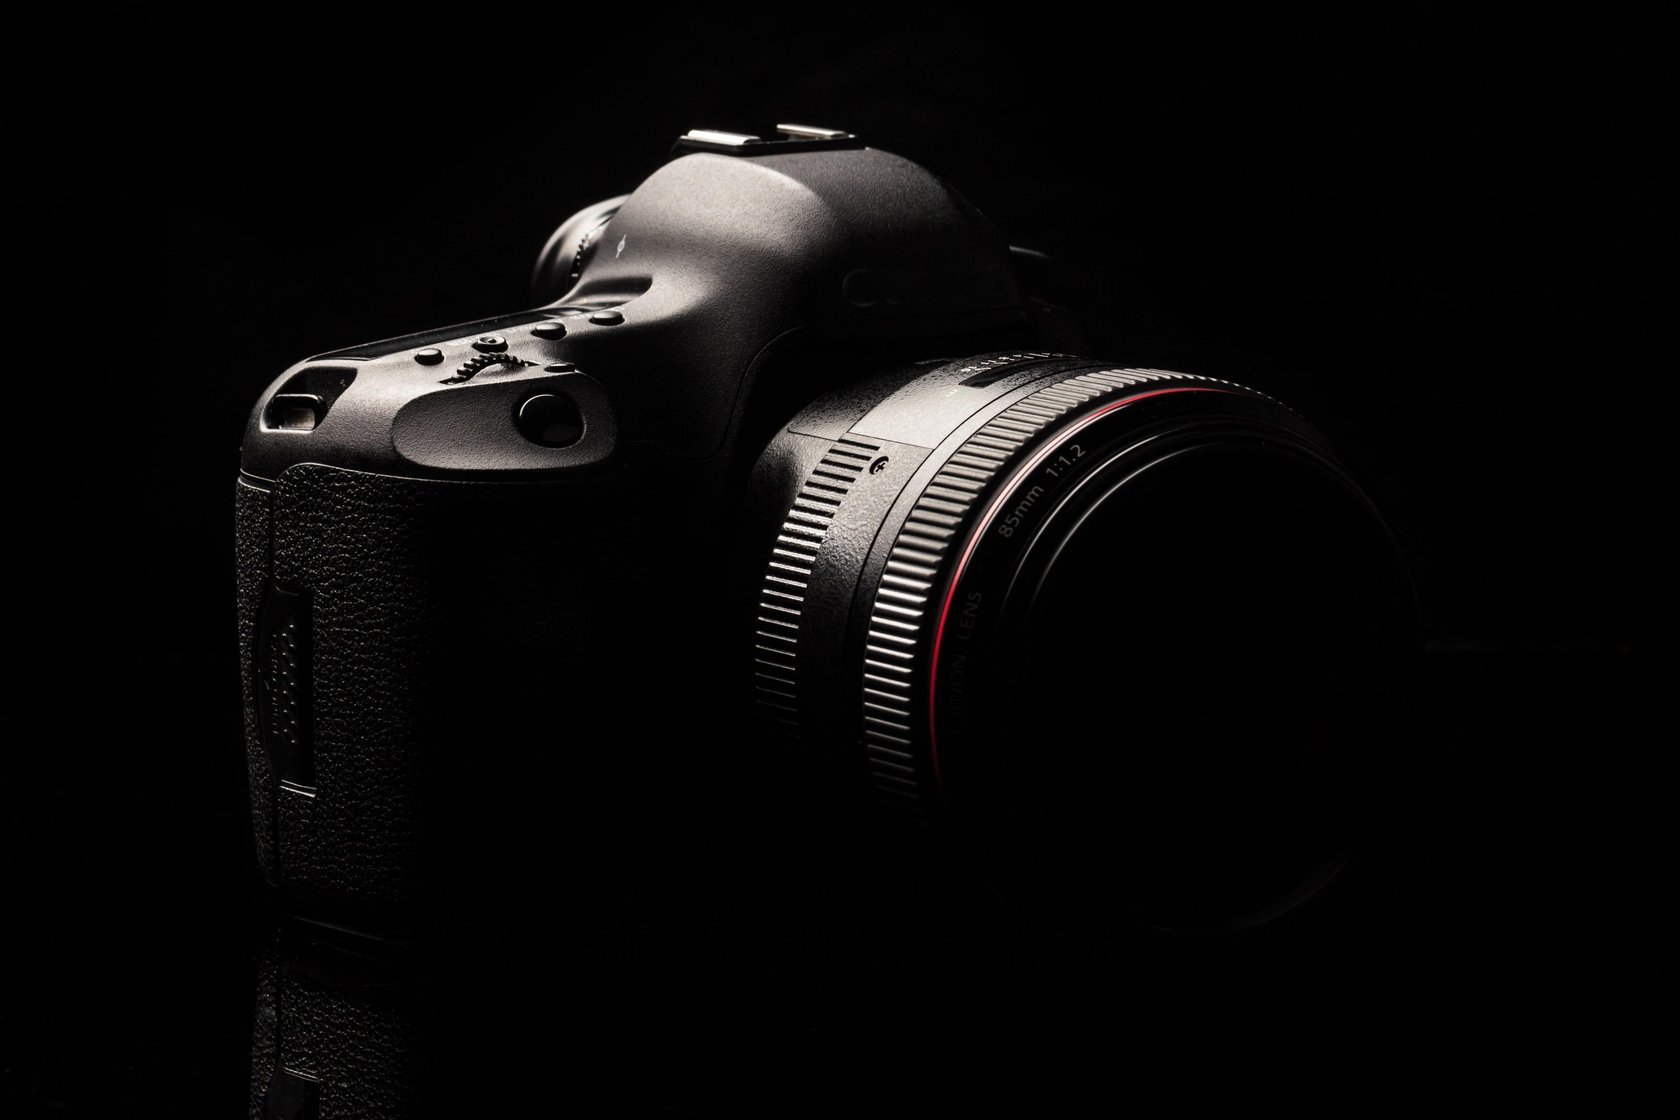
READ ALSO: Best digital camera in Nigeria
Lighting Terminology and Basics Keywords
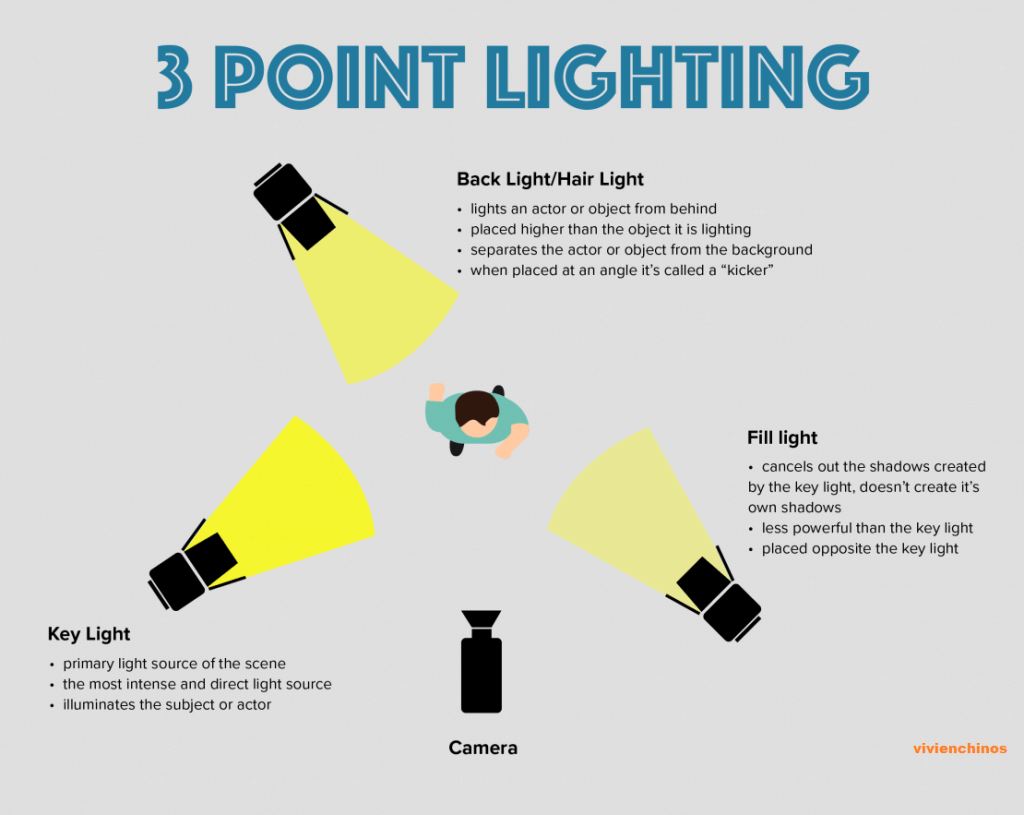
Studio lighting fundamentally, and most especially consists of “Key” lights, “Fill” lights, and “Back” lights. The key light is the main light set up to light the subject, which is pointed directly at the merchandise (or subject).
The fill light could be a secondary light set up, as the term ‘Fill’ explains it as complementing the image by filling up the shadow-stricken areas with fill light set up.
Often lower-intensity light (this can mean lower volume of sunshine or light placed farther away) on the other side of the camera from the key light. A backlight may be a light placed behind (or behind and above) the topic, to define the topic from the background.
A photographer might even add a background light basically to create an ambient feel, lighting up the background makes the subject or object stand out as the topic throws light on Product photography, the object will stand out from the background which will help to speak up the details on the product.
ALSO CHECK OUT: BEST LAPTOPS FOR PHOTOEDITING
Common Mistakes Beginners make in Product Photography
In product photography, shooters frequently want to “cut out” the thing(product) from the background. So it is often placed on pure white (or any desired color) of an internet site page.
If that’s your required outcome, adding a background light to a white tabletop, seamless backdrop, or tabletop light tent will blow out the white background to pure white.
Which facilitates ablating the thing(product) and delivering a PNG file with transparency around it. Not all products look good on white, so you’ll want to use a paper backdrop of a special color. Or consider shooting a product in a creative setting.
The selection is all about what scene will best sell your product, combined with what you (or your graphic designer/webmaster) desire.
WATCH THE VIDEO BELOW ON:
5 MISTAKES TO AVOID IN PRODUCT PHOTOGRAPHY
Poor Lightening
Lightening is crucial to each photograph – not just product photography, but every photograph ever taken.
If you get your lighting wrong, there’s only such a lot you’ll neutralize post-processing (editing), so it’s best to get it right, from the beginning.
The most common error is employing a mixture of sunshine sources (ie. daylight plus fluorescent lighting). Different lights require different white balance settings on the camera (see below) and if you combine them, you give yourself unnecessary challenges.
For small items, a lightbox may be a great investment and doesn’t cost tons. Larger items benefit most from a studio shoot.
Whilst professional studio lights aren’t essential, they’re going to always give the simplest, most consistent results. Natural sunlight may be a reasonable runner-up. But you’ll miss out on vital detail and therefore the quality of knowledgeable photo will suffer if you are doing not use studio lighting.
You need the proper balance of lighting, shade, brightness, and highlights.
Incorrect White Balance
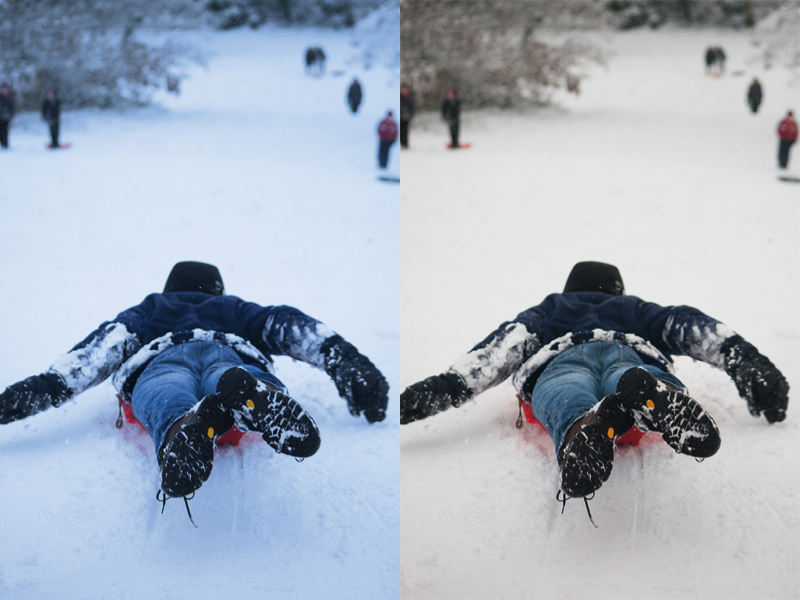
The white balance setting on your camera is the one that ensures that your colors remain accurate and faithful at first.
If your photographs are arising too ‘warm’ (yellow/red) or too ‘cool’ (blue) then incorrect white balance is the cause.
Setting up your white balance on your camera should depend on your lighting. The white balance is a very important setting that every photographer should put into note while shooting or rather before shooting.
In other to expatiate on the subject matter, which is white balance, Fluorescent and LED lighting produces cooler images. Which possesses more blues, natural light, and normal light bulbs that possess more yellow/red, will create warm tones in your images.
Both the cool images from fluorescent and led or that of natural light or natural light bulb require being compensated for by utilizing the white balance setting on your camera. As a final resort, you could use ‘auto’ mode on your camera setting.
This is why we mentioned above that mixing light sources may be a big mistake. It confuses the camera and makes achieving an honest white balance far more difficult.
Distracting Layouts

Judging with the image above, the food photography could have been more appealing to the eyes. If it was arranged and the focus was on a meal, rather than on all.
Backgrounds and props can help contribute to some amazing photographs and yet are often the explanation for some serious photo errors.
There is a reason that Amazon insists on your main photograph being the merchandise only against a clear white background. This is because there’s then nothing else to distract the attention.
Other supplementary images are not as important except for your main product images, a clear white or light grey background works best most of the time.
A plain background does not only highlight the item, and removes any distraction from the setting. It also leads the eyes of the customer to specialize in your product. Not getting anything twisted, having some complementary or supplementary props isn’t wrong. But the focus should be on not distracting your clients from the subject matter of the shoot, which is the product.

A busy background is merely a loud nuisance. Props are often great if used with constraint or with supplementary photos. But your main images should nearly always be against a clear backdrop
Lack of Scale
Most products enjoy context shots – not just a studio white background. Context shots show the merchandise getting used. Bags being carried, clothes being worn, furniture being positioned during a room, etc.
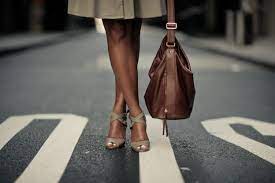
We’ve all heard the funny stories of individuals buying furniture online, only for them to see that it had been for a dolls house when it had been delivered!
Take a couple of context shots to determine the dimensions of the merchandise. So your customers are in little question about what they’re buying from you. This may save time and trouble afterward.
Lack of Uniformity


Whether you’ve got an outsized product range or simply a couple of items. One problem that always stands out is once you have different photographic styles displayed on your website or eCommerce store pages.
We often see online stores which have some products photographed against a white background. Others against grey and even some then just displayed outdoors or with another completely contrasting background.
Whatever your style and setting are, all of your products should be displayed uniformly. This suggests that if you modify our shooting style, then return and reshoot all of your older items. If you don’t, then on your store pages they’re going to look exactly that – old.
It’s too easy to seek out multiple examples online. Of this being done, so we’ll leave you to try to do that for yourself. Every item (old and new product lines) were photographed within the new style the shop wanted.
Best amongst Equals !!! Vivienchinos photography is the next big thing..Watch out!!
Very Informative. Thanks vivienchinos.