Table of Contents
Photography angles are the angle the camera is looking at your subject. There are several angles that you can use to get different effects. The rule of thumb is that you will get a good photo. When there is more space above the head than below it. But this isn’t always true, especially if your subject’s face is tilted down or up. Here are some of the most commonly used photography angles:
Types of Angles
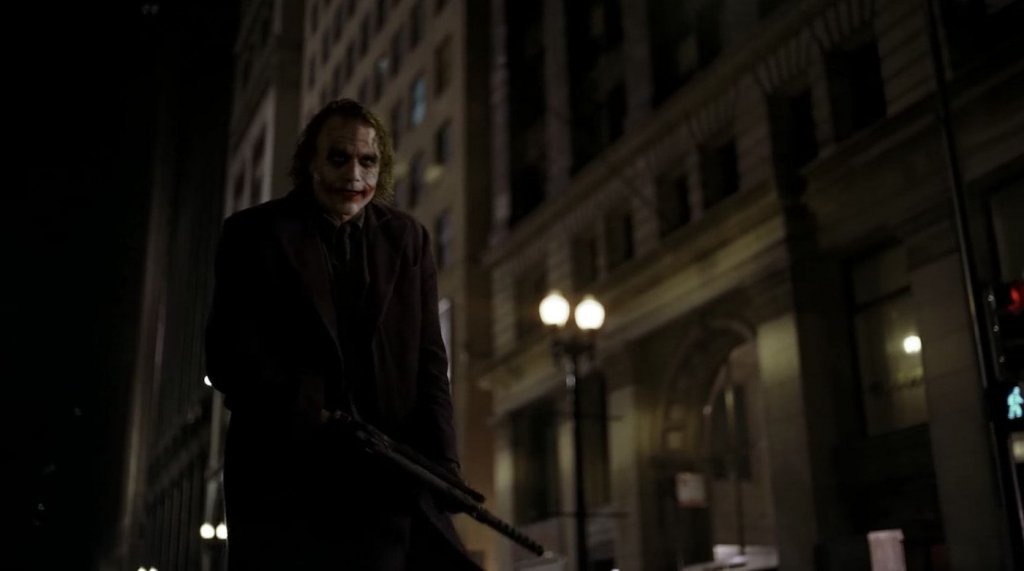
1) Eye Level Angle: You take a picture from eye level to show what someone might see when they look at something in real life.
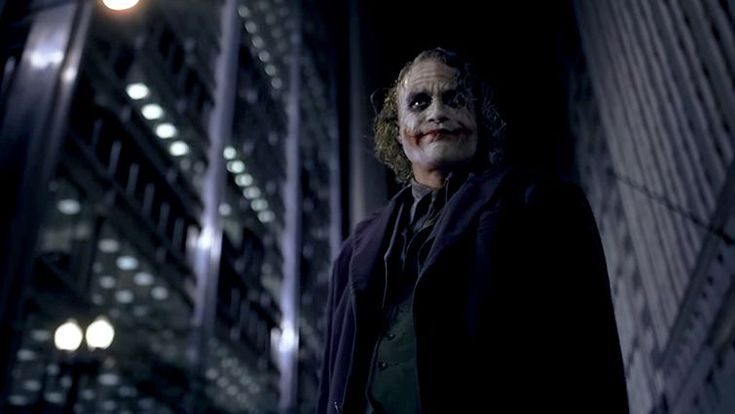
2) Low Angle: Low angle is used so that the viewer will see the entire body of your subject. As long as your subject is not facing directly toward you. This angle will reveal them in the greatest detail possible.
3) Medium Angles: This angle can be used to show intimate details of your subject’s body. By showing parts that other angles would not.
4) High Angles: You can use this to create depth in your photographs. Because objects seen at different angles will appear differently.

READ ALSO: What is Composition in Photography
5) The over-the-shoulder shot (OTS): is a camera angle used in film and television where the camera is placed above the back of the shoulder and head of a subject. This shot is most commonly used to present conversational back and forth between two subjects.

6) Front-on Angle: This is used to show the entirety of your subject in the best possible light.
7) Oblique Angle: This is how you can add interest to your photo by creating a silhouette, discerning the contours of someone’s body, or even when you want to show your subject from behind.
8) Rear Angles: You can use this angle when you want to include someone in a scene and draw attention away from what they might see and focus on what they feel and hear.
9) Wide Angle: A wide-angle allows you to show the entire scene or surroundings of what is in front of you in its entirety.
RELATED ARTICLE: The Cinematic
HOW TO PERFORM A PHOTOGRAPHY ANGLE
1. Choose the angle that is appropriate for your subject and surrounding environment.
2. Look through the viewfinder, focusing on the part of your subject where you want to include them in the photograph.
3. Position yourself to get a clear shot of your subject, then turn on your camera and take your picture.
4. Review your photo and if necessary, turn the camera slightly to get the perfect angle for your subject.
5. Back up to get another angle if desired.
6. Choose your attitude, but be reasonable in nature.
7. Put the camera down and enjoy the rest of your day!
8. Bring out the camera again later that day or the next day, and take more photographs if you wish to re-mold your subject further into a photograph that shows detailed depth without including parts of their body you would not want to include in your final print.
9. Once you have taken enough new photographs under various angles, you can sort through them on your computer. And delete any that are unflattering or do not fit with the framing of what you are trying to create in your photograph.
10. Make your selections and take more pictures to refine your angles.
11. Voila! You have a wonderful photograph of your subject!
12. To get the best possible out of each angle. You should use a tripod so that your camera does not move at all while you are setting up for a shot or after you have taken it.
13. Add the desired amount of editing to give your photo dimension, depth, color contrast, lighting changes, frame size, optical corrections. And any other changes that are needed to achieve the perfect final piece you are working towards throughout these steps.
14. Enjoy your finished masterpiece!
15. Photography can be a lot of fun and you really do need to use your imagination; it is the only way to get the best results.
16. You will never know what you can create by trying something different. So don’t be afraid to try something different and creative!
17. There are no limits in photography and no one will ever limit you because you want to express yourself and share your creativity with others, even if that means using your camera phone or computer!
18. You should try taking pictures of anything that you might want to remember once it has passed away – an old photograph can last many years even after its physical self has vanished permanently.
19. You should try taking pictures of anything that moves, even if it is just a leaf moving in the wind – you can capture nature’s beauty and add it to your photo collection.
20. You should try taking pictures of anything that glows because it will add an interesting effect to your photograph and could allow you to turn daylight into nighttime by adding color and brightness to the picture.
CHECK OUT ALSO: FASHION PHOTOGRAPHY GUIDE


1 thought on “Photography angles”