Table of Contents

Many people are not aware that there is a hidden layer of layers you can use in Photoshop, They allow you to group multiple layers together so they act as one. These are called Group Layers, This lets us create effects like filters, blend modes. Or even change where the active layer sits within your composition.
This can be really useful for things like color correction or masking large portions of your image.
READ ALSO: How to Remove freckles in Photoshop
How to Group Layers in Photoshop
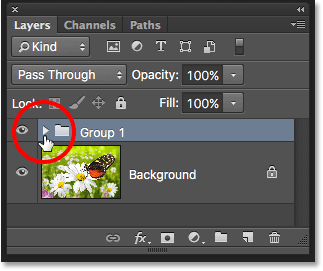
You can create as many layers as you like. Group layers don’t work with Smart Objects, and they only work with layers created through the Layers Dialog: By default, each group has its own unique preset blending mode and opacity slider. However, you can change this by clicking the icon in the Layers Tab and selecting a new blending mode and opacity slider from the Layer Style options dialog. You can also deactivate (or turn on) the group layer itself by clicking on the checkbox on the far right of the window. This doesn’t however let you edit individual or hidden layers within it. You’ll have to make your changes to all your layers first, then make any changes to the selected group.
You can no longer create a new group layer by dragging two layers together. But it can still be moved as one by holding down Alt (Mac: Command).
You can not rename or select individual layers within groups. It can only be moved as a whole.
Creating Layer masks on Group layers
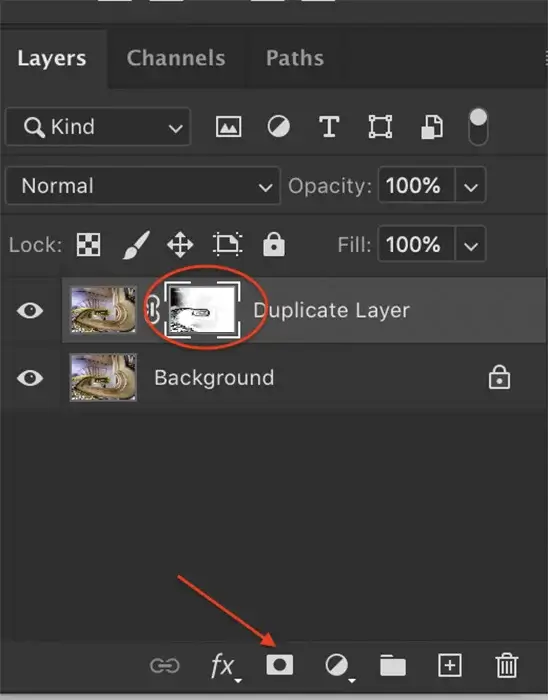
When you create a new group layer, it has no layer mask. If you want to create a layer mask for it, you need to make one before creating your group layer. To do this, click the Add Layer Mask button. This will allow you to hide parts of your image within the group.
You can’t select, move or edit any individual layers within a group without first ungrouping them first. Hold down Alt (Mac: Command) and click Group again to ungroup them. This won’t remove the layer mask, however!
Groups do not have their own pivot point. They use the pivot point of the topmost original layer.
Not all effects can be applied to a group layer. Filters and Distortions will only apply to the first underlying layer. However, some effects can be applied by first creating a group layer. Then make a selection within it, and finally apply the effect to this selection. In some cases, you might need to rasterize your group layer first as well as make a selection within it.
You can select multiple layers and add them to a group by holding down Shift and clicking on each layer you want to add.
CHECK OUT ALSO: How to add freckles in Photoshop
Creating a Group Layer
To quickly create a new group, hold Alt (Mac: Command) and click the Add New Group Layer button in the top toolbar. To add layers to an existing group layer, hold Shift and click each layer you want to add. You can select multiple layers simultaneously by holding down the Ctrl key (Windows: Alt key) and clicking on them. A new group will also be created when adding a layer mask, gradients or clipping masks.
You can rearrange the order in which layers appear in a group by clicking-and-dragging using your mouse’s scroll wheel. You can also select multiple layers and move them around by holding down the Shift key and dragging it with the Move tool.
New layer groups will have a ‘?’ next to them in the Layers Tab. This means they aren’t sorted in a logical or predictable way.
To select a group layer, hold down your mouse’s left button and click on the layer thumbnail in the Layers Tab. This will select it as a whole, not as a selection or selection range. You can also make groups by selecting layers in the Layers Dialog. This will only work if you have created a group before dragging them to this dialog, though.
When creating a new group, Photoshop won’t let you create multiple groups on top of each other.
Group Cloning
However, you can duplicate existing groups by holding Alt (Mac: Command) and clicking-and-dragging on them till they give way to it. This will effectively stack them. These are known as Group Clones.
Group Clones are not resolved layers. So they will appear in the Layers Tab as ‘Group Cloning xx’ where xx is the number of times you have duplicated the group.
You can move grouped layers by holding down your Ctrl key (Windows: Alt key) and dragging any of the selected layers in the Layers Tab. This will move all selected layers together. You can use this feature to create affine transformations or flip or rotate your image without changing its draw order.
You can move multiple layers at once by holding down your Ctrl key (Windows: Alt key) and dragging any of the selected layers in the Layers Tab onto a new layer or group. This will move all selected layers together. You can use this feature to create affine transformations or flip or rotate your image without changing its draw order.
You can select and copy multiple grouped layers in the Layers Tab by selecting them in the main image and holding down Ctrl and Shift at the same time whilst clicking on any one of the thumbnail images. This will select all selected layers as a group, not as individual layers. You can then copy this to the clipboard by choosing Edit – Copy or Ctrl-C (Windows: Shift-C).
If you’re new to Photoshop
Some of these settings may seem confusing. Try keeping it simple at first and just keep experimenting! Once you start getting the hang of it you’ll soon see how useful grouping layers can be.
Following on from my recent advice on creating groupings, I thought it might be useful to look at some of the additional features included within Photoshop. These can work well for specific situations, such as hiding things you don’t want people to see, such as personal details, or if you want to create a non-destructive clipping mask that doesn’t mess with your original layers.
Group Clones & Smart Object Groups: Group Clones and Smart Object Groups are basically the same things: groups within groups. These are created by duplicating an existing group layer, rather than duplicating individual layers. This creates a new layer filled with the same data as the original group. This means you don’t have to worry about merging layers together if you want to move them later. They can also contain filters that can be applied without flattening your image. Or make a selection first. You can also continue to edit the original group layer after creating a clone of it. Unlike clipping masks, which shouldn’t be edited once created.
You can copy & paste multiple group clones onto new layers or onto other group layers inside the main group. This will merge all of the groups and create a single new layer. You can also flatten and reposition these layers after you’ve copied them.
Smart Objects: Smart Objects are basically regular layers that have been optimized for external applications, such as Photoshop. As they contain no data, they will not be affected by filters applied to them or transformations. That moves parts of your image outside the bounding box of the Smart Object.