
Table of Contents
First and foremost a quick summary on How to remove freckles in photoshop. How to Reduce slight freckles naturally without using the Healing Brush tool in photoshop. During this Photoshop tutorial, you’ll find out how to subtract freckles employing a layer. This process provides the foremost natural results for light-brown freckles (ephelides) but won’t work for dark freckles (lentigines).
READ ALSO: How to curve text in photoshop.
Product photography lightening guide
Freckles are patches of coloring (or pigment) under the skin, mostly a gene trait heredity found on light skinned persons. Doctors call them ephelides. You’ve got them due to the genes you were born with. Freckles often show up during childhood, and you’ll still get more until you’re in your 20s. People with fair skin or red hair are presumably to possess them.
Freckles are tan or brown spots on your skin. They’re made from clusters of skin cells that contain the pigment melanin. Unlike moles, which are raised, freckles are flat. Freckles aren’t painful or harmful.
No one is born with freckles, although they could be genetic. They’re triggered by sun exposure. If you’ve got freckles and need to urge obviate them, here are seven ways to think about.
REMOVE FRECKLES IN PHOTOSHOP
STEP 1: Open an image in Photoshop that has freckles on the face.
Open the photo with the freckles you’d wish to remove. To open a file, open the File menu and choose Open. Then, browse for the photo and click on OK.
STEP 2: Convert to CMYK Color.
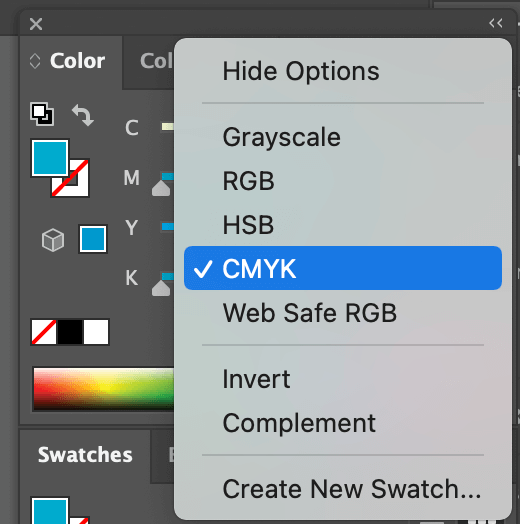
To subtract the freckles, we’d like to seek out a channel that shows the foremost freckles. this is often usually shown within the Yellow channel but to access that channel, we’d like to convert the image mode to CMYK. Convert the image to CMYK color by going to Image, which can be found on the top left > Mode menu and then selecting CMYK Color. once you convert to CMYK color, the colors will shift and appearance different, but we’ll show you how to urge around this issue later.
READ ALSO: HOW TO DRAW CARTOON CHARACTER
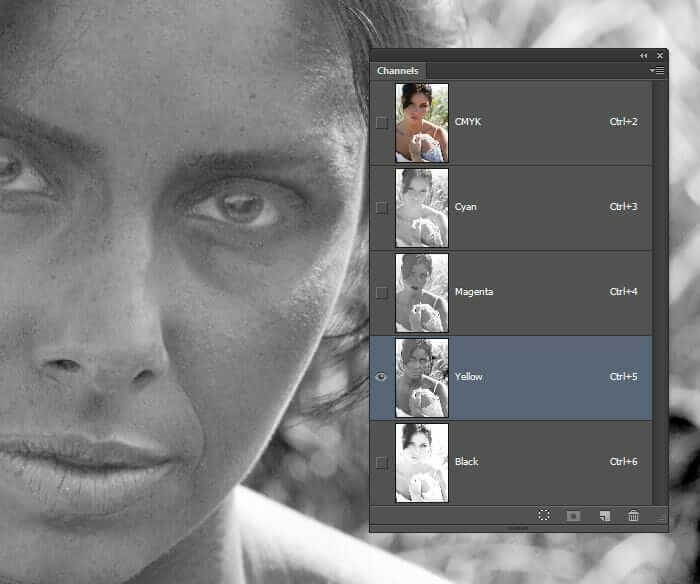
STEP 3: Select the yellow Channel to remove freckles in photoshop.

In the Channels pallet in case u can’t locate it, it can be found in the windows, then click on the yellow channel to take a good look at it. you’ll see that the yellow channel shows tons of freckles and this is often what we’re trying to find .
STEP 4: Copy the Yellow Channel.
Now we’re getting to create a replacement layer with the yellow channel in it. Press Ctrl+A or open the Select menu and click on All. this may create a variety of the canvas. With the choice created, Press Ctrl+C or open the Edit menu and choose Copy.
STEP 5: Convert the Image back to RGB color
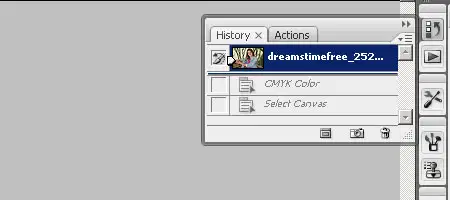
We’re done taking the yellow channel from the CMYK mode and that we got to switch back to RGB color. But all this color conversion means there’ll be tons of color shifts. Earlier we told you that we’ll show you ways to urge around this issue and here it’s . Simply enter the History pallet and click on on the primary step to revert the image to the way it had been .
STEP 6: Paste the content as a Layer.
Press Ctrl+V or open the Edit menu and click on Paste. you ought to now have a replacement layer with the yellow channel we copied earlier.
STEP 7: Invert the Layer.
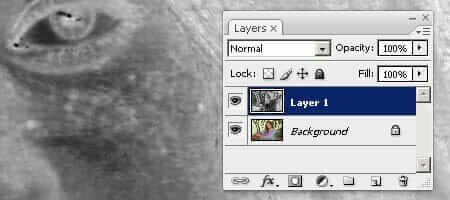
To subtract the freckles, we’d like to invert the layer in order that it shows the other of the layer below. To invert the layer, press Ctrl+I or open the Image> Adjustments menu and choose Invert.
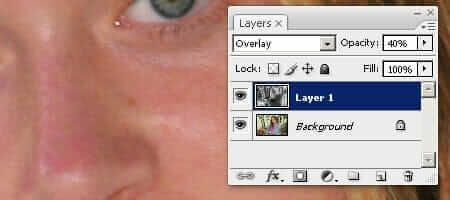
STEP 8: Blend the Layer.
Now that we’ve the proper formula to subtract the freckles from, change the blending mode to Overlay and adjust the opacity in order that the freckles disappear. you ought to see the effect of this subtraction technique real time as you adjust the opacity slider.
Once you’re done, you’ll notice that the contrast for the whole image has changed. For the image utilized in this tutorial, the result’s pleasing and makes the general image look better. If you’re proud of the results, you’ve completed the effect. However, if you do not just like the effect that it creates, follow subsequent steps to find out the way to make this effect only visible on the skin
STEP 9: Add a Layer mask.
To specify where the freckle removal effect should appear manually, we’ll be employing a layer mask. Add a layer mask by opening the Layer> Layer Mask> Hide All. this could create a black layer mask that creates the whole layer invisible.
HOW TO REMOVE FRECKLES IN LIGHTROOM
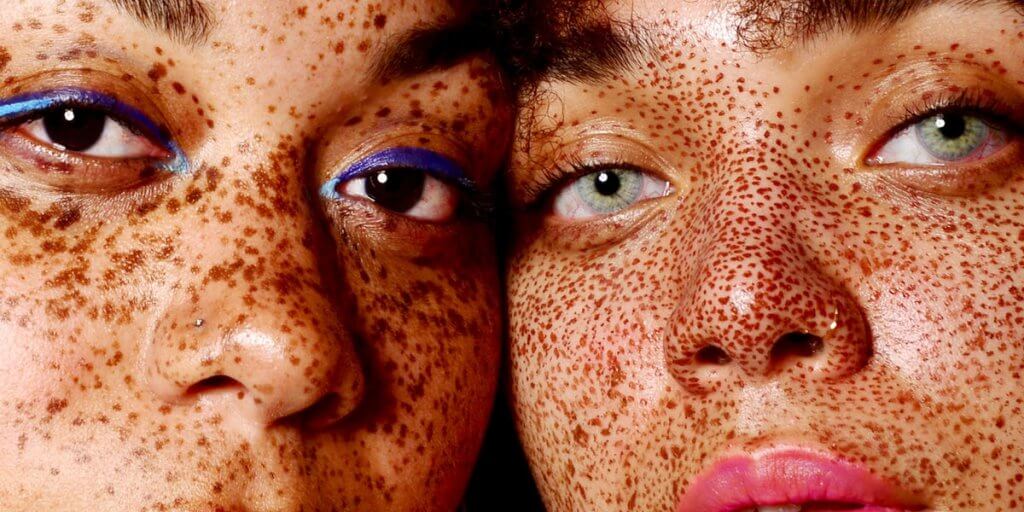
I lately mugged a model in New York City. As I was communicating with her leading up to the shoot I noticed in some of her filmland that she had dots. I tête-à-tête am a big addict of dots and wanted to do a shoot that stressed her skin rather than hide it behind makeup or photoshop tricks. One of my favorite prints that came out of the shoot was this one, cropped near to punctuate her eyes and skin.
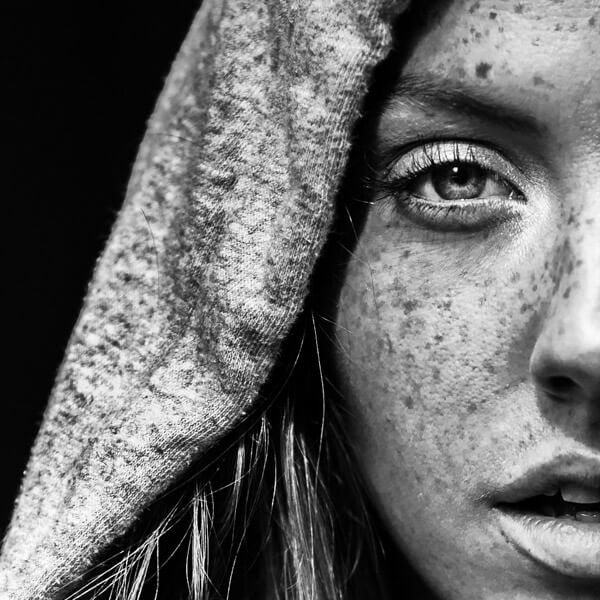
After I posted the print over on Instagram I was posted by someone asking me what process I used to get that gritty look. I’m then to partake in my secrets and show how you can achieve this look in lower than 30 seconds with Lightroom, every time.
I shoot in RAW to make sure I’ve enough information to work with. All the dots are there in the skin, which you can see smoothly showing up in the original print.
Step One: Convert to Black and White
The first step is to convert your image to black and white by opting “ B&W” in the develop panel of Lightroom, or using the roadway crucial “v.”
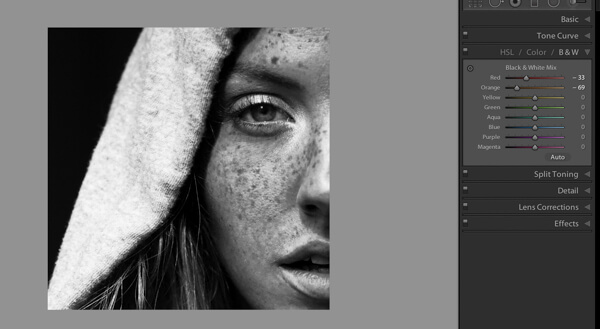
Step 2: Adjust Red and Orange Sliders
Still not seeing the dots, right? Under Black and white (B&W) in the develop module in Lightroom, you should see “ Black and White Mix” and a column of sliders beneath it with all the colors of the rainbow. These allow you to control the original colors in the print, within the black and white mode.
Knowing that dots and skin mars are generally orange/ red in nature, you’ll be playing with the orange and red sliders only. You get to decide how far you want to push them, making your subject more or less violent looking.
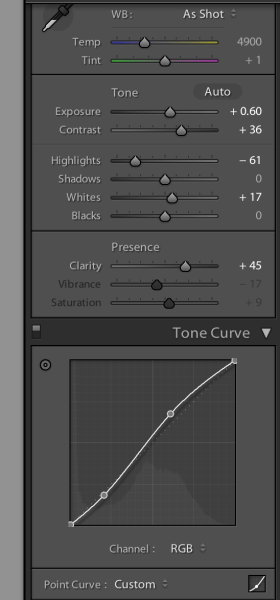
That’s about it, actually. You’ve just enhanced the dots in your print. Congratulations! If you want to give it indeed a little further pop, try this with your tone wind and exposure sliders.
By now we should have a well-removed freckle face of our subject, try this out and let us know what your result was.
Thank you so much…this has been very helpful🔥🔥🔥
Really insightful and educative, it will really perfect my practicals soonest
Thank you sir