Table of Contents
There are tons of methods to apply in color grading an Image. For the purpose of this extract, this article will emphasis basically on How to Color Grade Skin Tones using COLOR RANGE TOOL in photoshop.
READ ALSO: How to find the best photographer in your area
How to curve text in photoshop
The Color Range tool is a very divergent tool as it provides us with varieties of Options and ease in masking. Layer masking may be a reversible thanks to hide a part of a layer. This provides you more editing flexibility than permanently erasing or deleting a part of a layer.
Layer masking is beneficial for creating image composites.
COLOR GRADE SKIN TONES WITH COLOR RANGE TOOLS

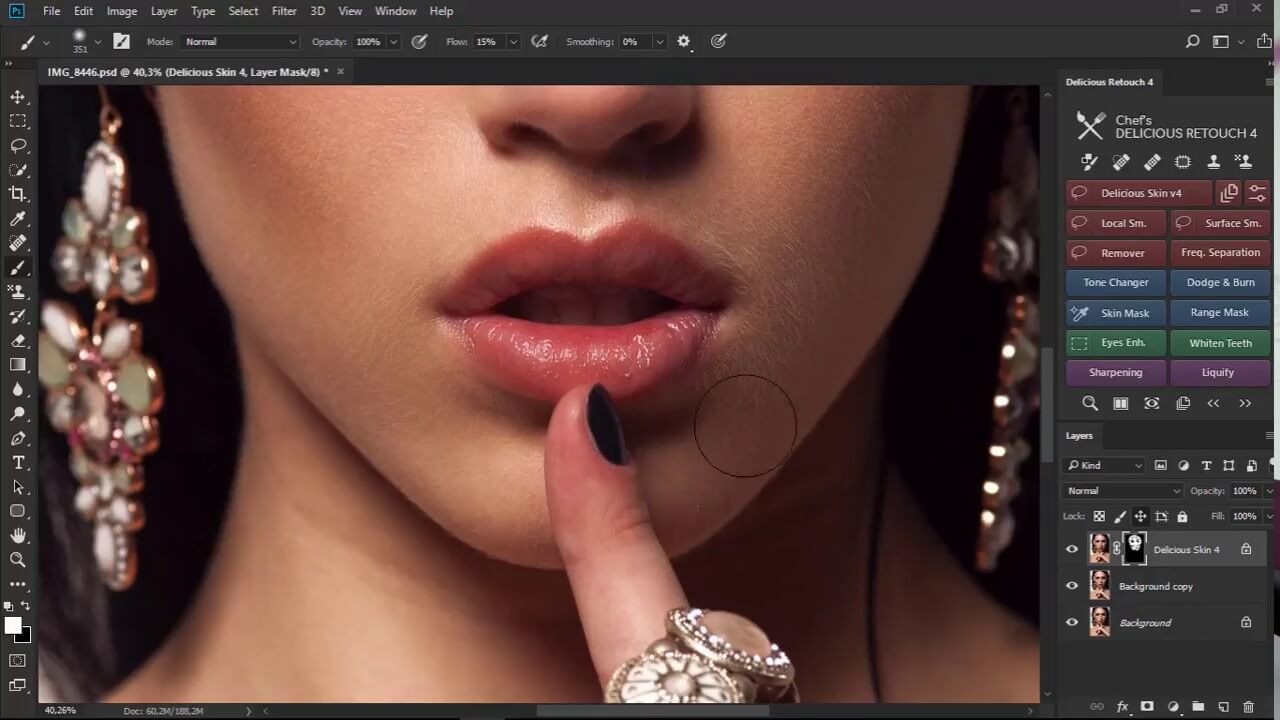
STEP 1: Open photo and select Skin tones in ‘Color Range tool’.

Open a picture in photoshop that will be used to text-run color grade.
The aim at this point is to achieve a tanned look of color grade on our subject. Which will be what ever picture you may have decided that you will use for the edit practice. However, for the purpose of this workflow we will stick to our picture.
STEP 2: Go to SELECT> Color Range> Skin tones, Uncheck Detect faces, PRESS OK.

Click on SELECT > Then under Select > click on COLOR RANGE > SKIN TONE > uncheck DEFECT FACES, after unchecking, defect color, you can then press ok.
STEP 3: Go to Adjustment Layer; Select Solid Color; Add Solid color fill layer of a brown color to apply on shadows.

Adjustment layer can be found in the windows channel. If it appears not to be opened or checked, you can reveal it by checking it. Go to adjustment layer > and Select Solid Color; make sure it is of a brown color, because its to be applied to the shadows only.
STEP 4: Select Layer mask(shortcut; Hold Alt + Click on Mask to view).

Afterwards, Select Layer mask by holding ALT and/or + then click on the mask to view. The selection of the skin as might have already been done by the Color range Skin selection.
STEP 5: Select mask properties, feather it to soften harsh edges.

Select mask properties by going to the PROPERTIES CHANNEL which can still be reviewed by going to Windows Channel. Then soften the harsh edges.
STEP 6: Feather to about 10 pixels.
Reducing the feather to Ten percent works well for the image we are using for the purpose of this tutorial. Still doesn’t mean you should reduce the feather much, but reasonably reduce to where it works best.
STEP 7: Change layer Blending Mode to ‘Color burn’.

At the top most part of the Layers window/panel, is located; the layer Blending Modes, select Color burn.
STEP 8: Reduce the ‘Fill’ slider value around 15-20%, the brown tone is only applied to the shadows of the image.
Play around with the Fill slider and reduce it by preference to where it suits best, for the image above, 15-20 works fine.
STEP 9: Duplicate color fill layer, change the blending mode to ‘Color Dodge’ and add color of light cream to apply on highlights.
Make a duplicate of the Color Fill layer, we want to make a fairer version of the previous Fill layer, which will be used for the highlights. So a Light Cream color should be selected for the highlight.
STEP 10: Now group both layers CTRL + G, Reduce the overall strength.
Thereafter, make a Group or both layers and in other words Group both layers by holding on your keyboard; CTRL + G, then reduce the overall strength to where it works best.
STEP 11: Now we supposedly have a rich and tanned skin tone for your image, from this extract on how to color grade skin tones in photoshop.
Finally, coming to a conclusion we have a well color graded image employing a Color Range Tool.
You’ve got skills…keep it up🙌👍