
Table of Contents
If you’re the type of photographer who loves their DSLR camera. But is sick of dust bunnies accumulating inside, you’ve come to the right place! We’ll show you how to clean a DSLR camera and keep it clean so that your photos are as beautiful as ever.
READ ALSO: How to Start a Photography blog
Please note that this post was written by a community member, not a Canon expert. If you have any questions. You should instead ask them on the Canon Photography forum or at our DSLR Hackers Facebook Group.
How to Clean A DSLR Camera & Keep It Clean
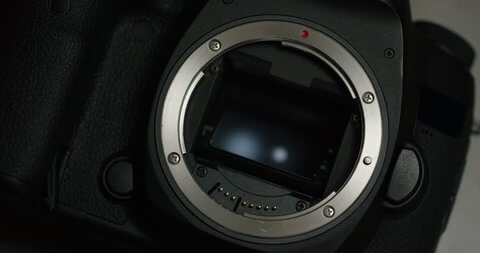
First, let’s talk about how to safely remove dust inside your camera. For this guide, we’re going to use the Canon 7D as an example. But the same applies to any other DSLR with a dust-prone sensor.
The first step is to remove your brushless shutter (aka mirror) assembly. Instructions can be found here.
Now that the mirror is out of the way, you should be able to see dust particles on. Or around your sensor. If you don’t, then you have bigger problems that go beyond a simple cleaning! You will need to have your camera serviced. By a Canon authorized service center in order to get rid of this problem.
If you do see dust, there are a variety of ways to remove it. Here are some general guidelines:
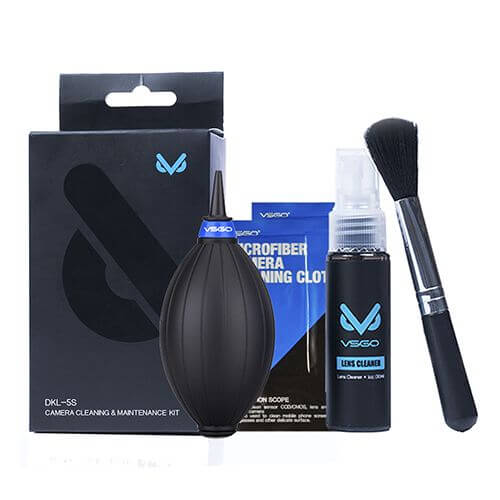
Dust blower – These are incredibly useful because they allow you to target specific areas without having the dust scatter elsewhere inside the camera body.
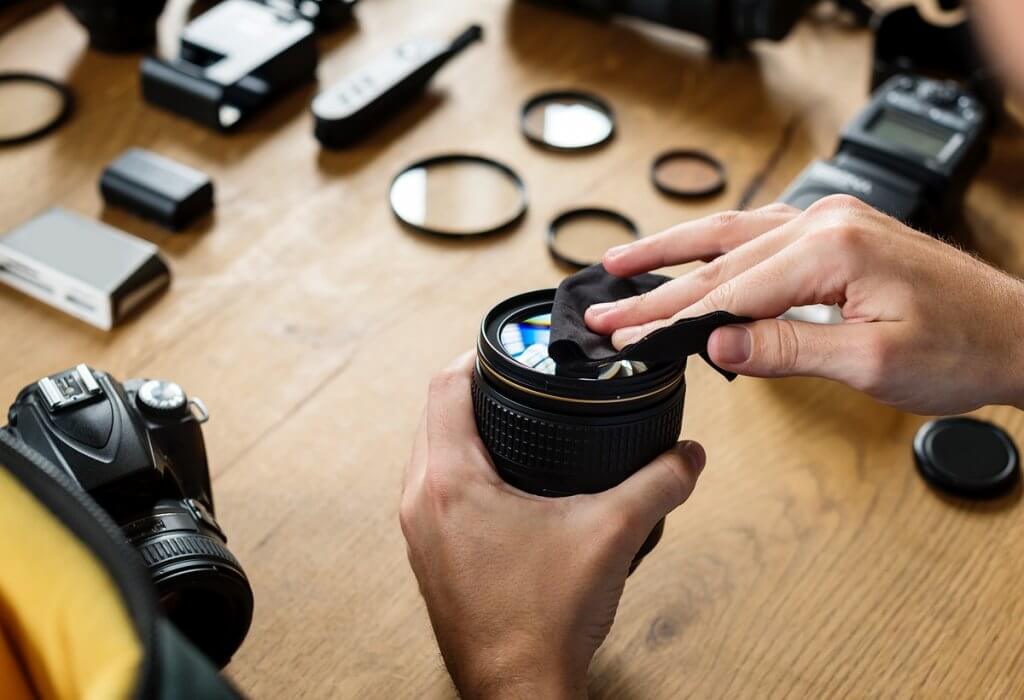
Long blower (Lint-Free Lens Cloth) – This technique works well because you can see exactly where the dust is and remove it with a steady hand. If you don’t have a blower handy, try using a lint-free cloth.
Air and brush (Microfiber cleaning pen) – This is the technique I’ve found to be most effective. Use an air bulb and brush to blow dust out of hard-to-reach crevices. A microfiber cleaning pen can also be used for this purpose.
Now that you know which cleaning method to use, let’s discuss how to clean your sensor.
You will need:
Camera body and lens cap – These are essential for access to the most dust-prone areas. We recommend using a kit lens and three different sizes of blower (everyone uses a different size).
Dust blower – This is crucial because it allows precise targeting and takes the guesswork out of cleaning.
Microfiber cloth (or lint-free cloth) – You need this for contacting delicate parts without scratching them.
Air bulb – This is useful because it provides direct contact with dust particles as opposed to blowing through them.
5-10 drops of LC-80 solvent – This is a very small drop so you don’t have to worry about it being too much.
Note: This cleaning process will work for most DSLRs, however, some have more or less dust than others. If this is the case for your camera, then you’ll want to determine which specific areas need attention. Look at your photos and evaluate any that have a significant amount of dust on them. Is there a photograph that’s dominated by dust? If so, that might be a good starting point for finding dirt. Alternatively, it could also be a sign that your camera needs to be serviced. By an authorized Canon service center in order to ensure the longevity of your investment.
Check Out also: Nude photography
Following are step-by-step instructions for cleaning your camera sensor.
Step 1 – Close the shutter
Camera bodies can have a lot of dust bunnies. Impurities that are found in the air come into your camera via the shutter blades. Which are located just behind the lens. When you take a photo, these impurities become trapped between the blades and your sensor. Aside from being an eyesore, this causes uneven images on photos. And can even cause dust to appear on your images. To clean this area, you’ll need to close the shutter so that no air escapes from between the blades while you’re working with your blower or microfiber cloth.
If you own a Canon 7D, take the following steps:
To close the shutter, first rotate the dial clockwise until it clicks. After that, rotate to “E” which is located above “M”. The shutter will close and you’ll no longer hear it opening and closing as you take photos.
Step 2 – Blow as much as Possible using an air blower
Next, blow as much dust as possible out of your camera body with a blower or microfiber cloth. Below is a guide for how to effectively use your blower:
Always hold your blower at a 45° angle when blowing to ensure dust moves away from your sensor rather than back towards it. Try to move in a straight line while blowing so that you can blow dust out instead of having it settle in your camera. If your blower has a longer nozzle, try using it to blow dust out of the top of your camera instead of the sides. This allows you to get into tight areas where other tools can’t reach. Always use your blower before using any other cleaning methods because it will disturb loose particles that could cause scratches on your sensor if they fall into the wrong places.
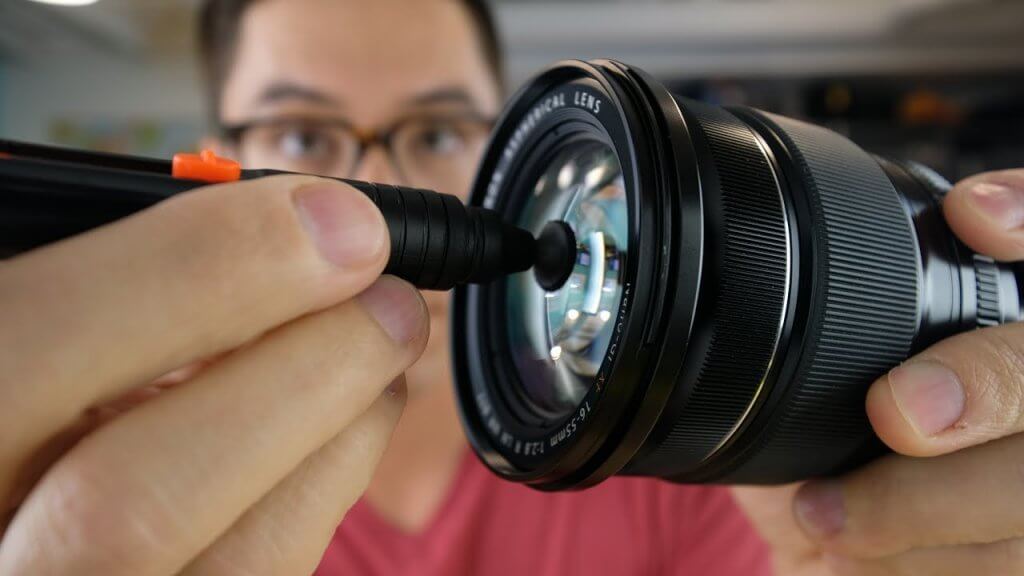
If there are any stubborn specks of dust inside your camera, don’t hesitate to use an air bulb with a cleaning pen or brush. This will remove hard-to-reach particles without scratching anything inside the lens or camera body. To clean with an air bulb/pen, you want to put the nozzle of your pen in front of the lens and spray. This will direct dust towards the cleaning pen while pushing it away from your sensor. It’s very important that you avoid spraying at your sensor because you could do damage to it if too much air rushes out of the tube.
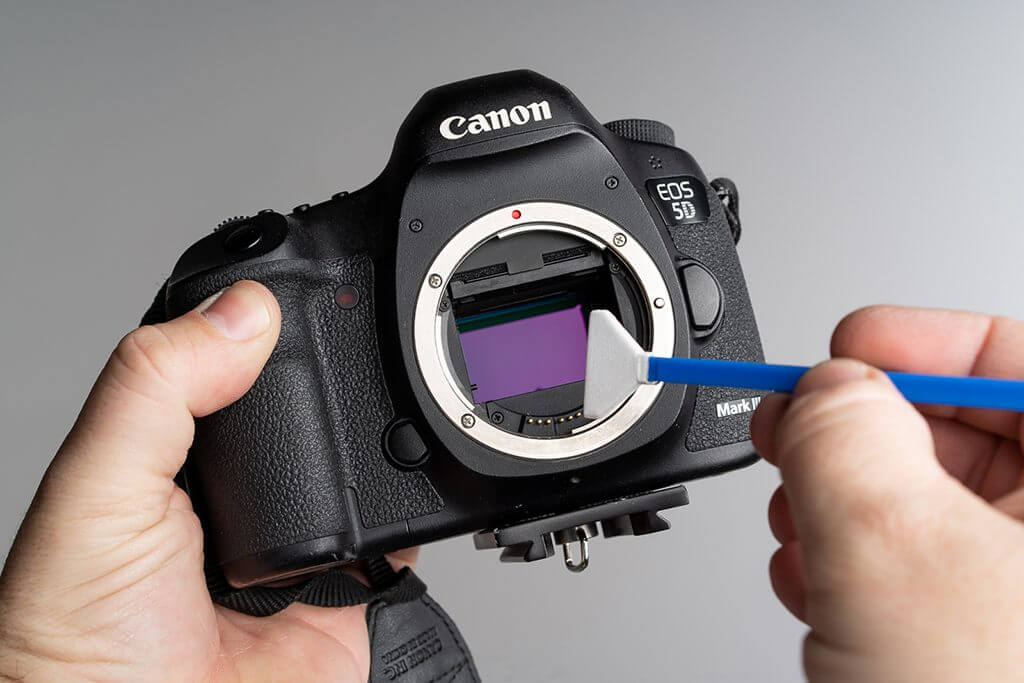
Step 3 – Cleaning Your Sensor
Now that your camera is relatively clean, it’s time to get more specific by using different-sized blowers to get rid of pesky dust particles. A great method for this involves creating 4 rows of blower nozzles, each with a different size for capturing dust in different parts of your camera. The key here is to move your blower in a sweeping motion while you blow into the camera in order to get rid of dust. If you find that you don’t have enough air in the blower, try putting it in the freezer for a few minutes before trying again.
To effectively use your sensor-cleaning kit, you’ll need to remember to
Blow air in the same direction that your sensor faces. Always blow away from your sensor when using any type of cleaning tool!
Choose only one size blower for each area/part of your camera body. Spending too much time blowing air will not be efficient when it comes time to clean specific areas inside the body.
If you don’t have a kit, try using a small to medium camel-hair brush instead. Be sure to wet the brush with water to make it more effective!
Use a microfiber cloth every once in a while to remove particles that might be stuck to your sensor. These will not scratch your camera because they’re very soft.
Note: If you’re using the sensor cleaning kit, all of this will be done automatically for you if you choose to start with the medium blower or brush. If you use a dust blower specifically for this purpose, blow gently so that the impurities are pushed out of your camera instead of floating around. Doing so will avoid requiring you to clean your sensor all over again.
Step 4 – Clean the Lens
The elements on your lens can also cause dust to appear in photos. It’s best to clean them as often as possible because they tend to hold onto dirt much more readily than those found inside your camera body. On the front of your lens, look for these elements:
Front element
Filter
Front ring
Lens hood
All of these elements should be easy to remove if they’re dirty. Replacing them can be expensive so it’s best to clean them frequently. You can clean your lens with either an air blower or microfiber cloth. Be sure you don’t use any type of cleaning solution on your camera body because it could permanently damage it or affect image quality in some way. You’ll want to always first blow into the area where the lens attaches directly onto your camera body, then clean using a different method (air bulb/brush). If you want to save time, use your blower for both steps because it’ll get rid of loose particles while displacing any that are stuck to the lens. If you’re worried about blowing out your camera body, then use the blower first and then use your sensor cleaning kit to clean inside the body.
Step 5 – Cleaning the LCD Screen
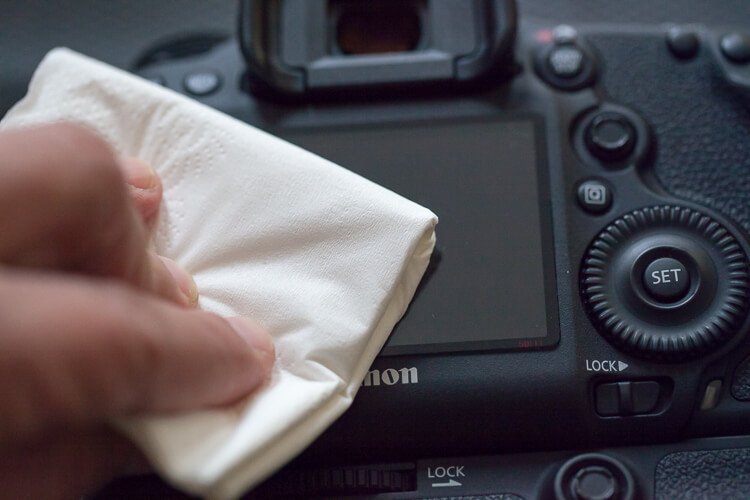
Your LCD screen is located on the right side of your camera, just under the shutter button. It’s fairly easy to clean after taking photos so it’s safe to say that this area always needs attention. You can use either an air blower or paper towels for this but you’ll want to blow it away from your sensor (using a blower) instead of blowing directly on it (using a paper towel). Don’t forget to clean the area where the eyepiece attaches to the camera body because it’s also occasionally home to dust. If you want, you can dust using your blower while cleaning with a microfiber cloth.
Step 6 – Cleaning the Flash
The flash on your camera is located on your left side near the bottom of the camera. The best way to keep this area clean is by taking photos without shooting any LED flashes or simply by making sure that it doesn’t shoot at all when you take photos. To do this, take out your flash from its cover and blow into the opening until it’s free of dust. Make sure that your camera is turned off while you do this! If you’re having trouble getting into the opening, use a blower or air bulb to do the trick. Make sure that you don’t attempt to push out dust with your hands because you can damage the components inside.
Cleaning Your Tripod
It’s a good idea to clean your tripod from time to time. If you don’t, you might end up with a dirty ball of dust by the eyepiece or lens, which will result in a dirty lens and/or sensor. It’s easy to keep your tripod clean by removing the weight hook on the top. Spray or wipe off any dirt that has accumulated, being careful not to touch it with your hands because that could leave smudges. Using a blower is always a great idea when cleaning tripods because it will blow away particles while giving them a nice layer of dust protection.
Cleaning Your Tripod Base
You can hang your camera from the top of your tripod by looping a cord through the eyepiece. This is an easy way to clean it as well as protect the camera from potential damage. Hang it on a hook and blow it into the tripod body until it’s free of debris. A blower is great for this as long as you’re careful not to cover any sensitive components inside with particles.
Cleaning Your Remote Control
The remote control has a small flap that you can open and close to access various buttons on your camera. If this flap is dirty, you’ll have a hard time operating your camera. You can clean it with either an air blower or paper towels.
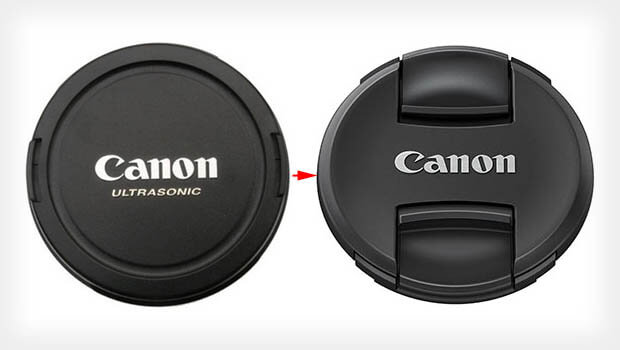
Cleaning the Lens Cover
A lens cover isn’t very easy to remove like other parts but there are ways to get around this. Before you take it off, look at the frame of the lens inside and make sure that it’s clean there. You can use an air blower or microfiber cloth to blow dirt away from the edges of this frame. Also, make sure that all of your metal screws are tight by making sure they don’t move around when you touch them (without collecting dust).
1 thought on “How to clean your dslr camera”