
Table of Contents
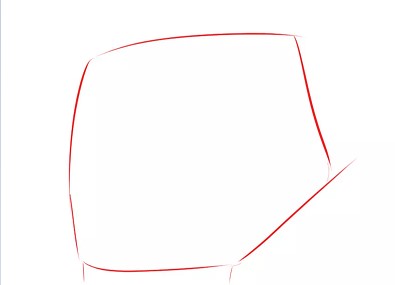
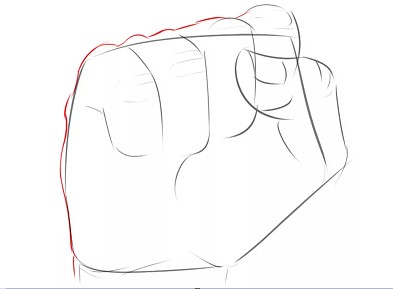
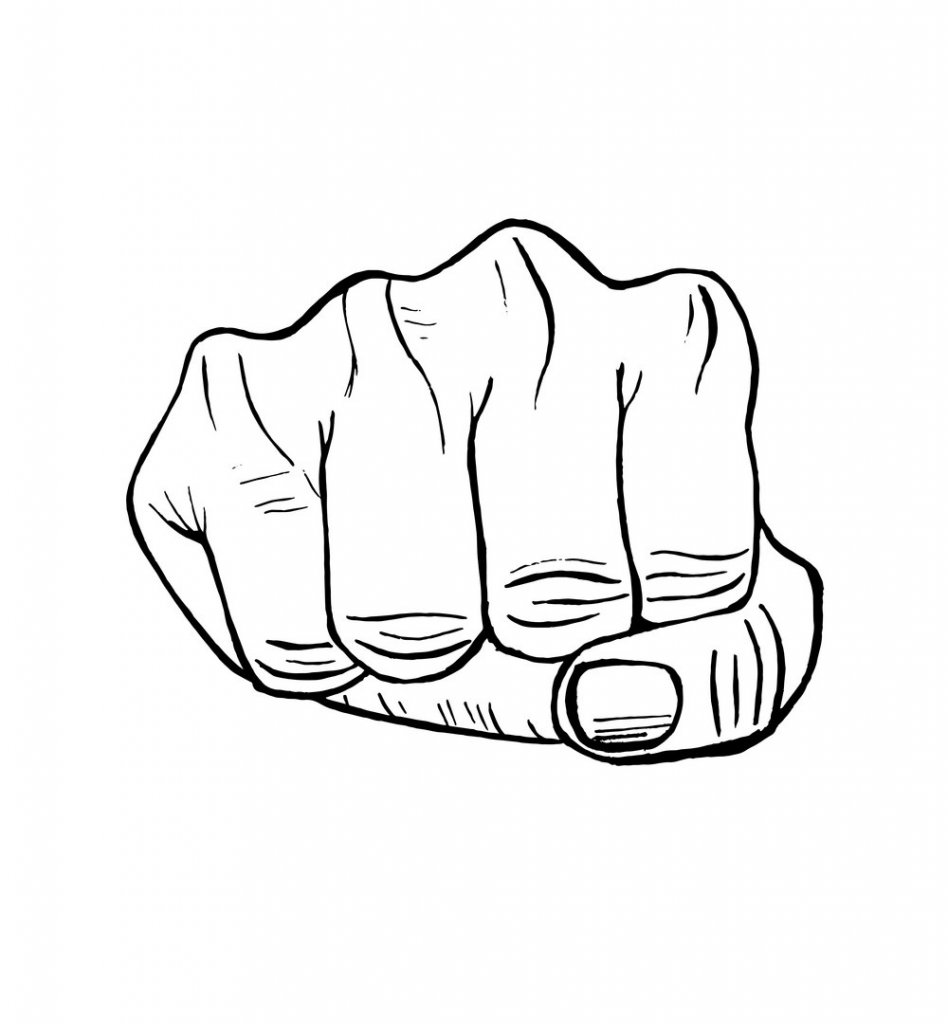
Are you looking for a guide on how to draw a fist? If so, look no further because this article will teach you everything you need to know about drawing fists. The first step in drawing a fist is to think of an object that would be round and easily drawn. After that, draw three circles on the opposite side of the page from each other.
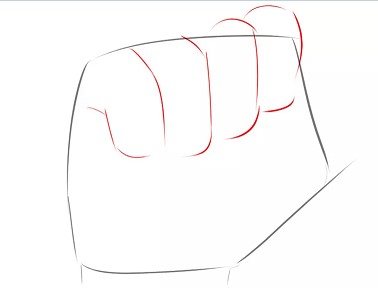
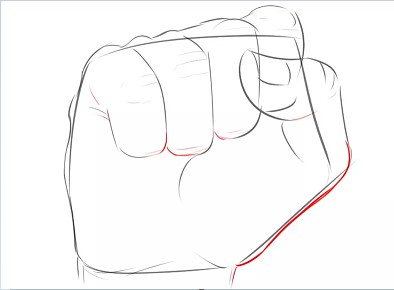
Then, make two vertical lines under them and connect them with two horizontal lines. You should now have an ‘X’. The final step in drawing the fist is drawing your thumb wrapped over your index finger. To finish your drawing, add three smaller circles and a larger circle to show the silhouettes of the knuckles.
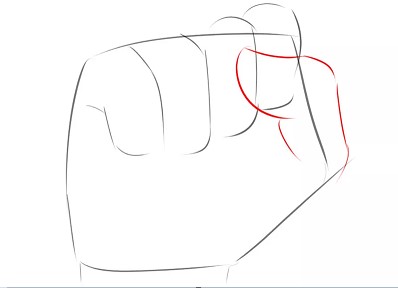
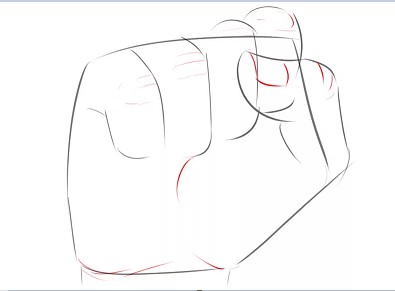
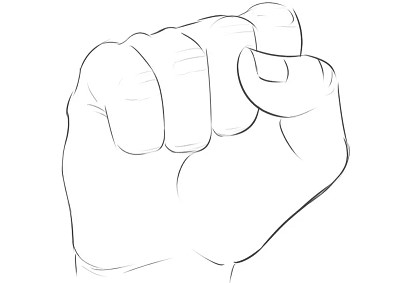
It’s important to keep in mind that when you’re drawing a fist or any other hand for that matter. That you should only use the lines to get the point across and erase them once you’re finished. Also, when adding something such as a fingernail, add it at an angle so it looks more natural.
Now for some tips on how to draw a fist. First off, remember not to make all of your fingers look exactly alike. Because doing so will make it look too mechanical and robotic. Also, a fist is a very simple object. It’s best that you keep the rest of your drawing simple as well. Lastly, keep in mind that if you want to draw a more complicated fist, such as the one shown above. You should use as many shadows as possible as they will make your drawing look more realistic.
READ ALSO: 10 Ways to Restore Lost Data with Easy Recovery Essentials Alternative
Here are some pictures of some different kinds of fists to help inspire you.
Also, try out these techniques on some other body parts such as fingers or hands for additional practice. Remember to have fun with this and experiment with different things until you’re comfortable.
1) This first picture is a knuckled fist where only the knuckles are showing. This is not to be confused with the other first technique. Because this one shows the knuckles without the other parts of the fist. This picture gives you an idea of what a knuckled fist looks like. But it’s still very similar to other kinds of fists.
2) This next picture is known as a closed fist. The closed fist is when only your thumb and index finger are showing. While keeping your middle and ring fingers hidden.

3) Here is yet another variation on the closed fist. Where only two fingers are showing while keeping your thumb and index finger hidden.
4) This next fist picture is called the Makaton fist. This is similar to the closed fist but in this picture. The index finger and the middle finger are each bent. With only the thumb and ring fingers showing.
5) This last fist drawing example is known as an open-handed fist. An open-handed fist is when you show your palm without any of your fingers or thumb showing. While keeping your middle and ring fingers bent in with your index finger down at a 90-degree angle.

If you want to draw an actual human hand using these techniques. It’s important to remember not to make them mechanical or robot-like. Because keeping them simple will help keep it looking natural. Also, along with simple hand drawings, try to find some pictures of hands that you like and draw from those. Remember to keep adding more lines as you keep going. But also use your eraser as needed to clean up any mistakes as needed until your drawing is ready.
The key here for this last step is to take your time, make sure that it’s easy on the eyes. Don’t forget to erase the lines that you draw to keep it looking natural. But also remember that if you want to keep your drawing looking simple. Then do what you can to make it look simple. Also, don’t forget to erase any mistakes because erasing them will make them not only look better. But also make your drawings look cleaner.
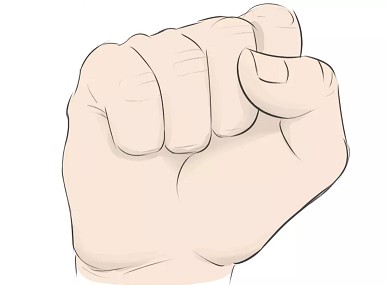
Now that you know how to draw a fist, here’s how I drew the fist below!
- First, I drew three circles that are all close together on the opposite side of the page from each other.
- Then I drew two vertical lines under each of them and connected them with two horizontal lines to form ‘X’.
- To finish it off, I drew my thumb wrapped over my index finger. Added three smaller circles to show the silhouettes of the knuckles. And a larger circle to show the silhouette of the first knuckle.
Here are some examples of other kinds of fists that you can try out! Remember to have fun with this because drawing is supposed to be fun. Don’t forget that these are just examples so don’t limit yourself just to these drawings. You can always do something completely new and awesome by using your imagination!
1) This fist below is an open-handed fist where you are showing your palm without any fingers or thumb showing.
2) This next fist is known as a closed fist. The closed fist is when only your thumb and index finger are showing. While keeping your middle and ring fingers hidden underneath.
3) Here is another example of a closed fist where you are showing only two fingers. With the middle and ring fingers bent in with the thumb and index finger hidden underneath.
4) This next fist picture shows a Makaton fist, which is similar to the previous three. But they are each bent at a 90-degree angle instead of just straight.
5) And lastly we have an open-handed fist where you keep all of your fingers hidden beneath your thumb and index finger.
CHECK OUT ALSO: How to Draw a Skull
I hope that these examples of fists were useful to you! As you get better at drawing them. Try to make each one more realistic by adding more lines during the process. Also, don’t forget to erase any mistakes since they will make your drawings look better. And also make them look more professional.
Finally, if you want to draw a human hand. Then remember that all sorts of hands are used in different things like sports, gaming, etc. With this in mind, keep it simple but don’t be afraid to add lines if needed.
Regardless of what step you’re at in the process. This is an opportunity to try something new and keep on practicing! As you get better, use what you learn on other body parts such as hands and fingers. Just keep on having fun and never stop learning because there’s always more to learn!
There you have it, step-by-step instructions on how to draw a fist. I hope that this was useful and I can’t wait to see your drawings! If you want to see more drawing tutorials like this one. Then check out my finger drawing tutorial and my finger painting tutorial! Also, feel free to ask any questions in the comments below because I will answer them if possible.
1 thought on “Fist drawing”